FOR THE GALAXY TAB P1000
The first of Samsung’s tablets, the Samsung Galaxy Tab GT-P1000, was one mighty tablet that runs on a 1.0 GHz processor and donned with a TFT capacitive touchscreen. The tablet first had Android 2.2 Froyo onboard and was later upgraded to Gingerbread. Upgrading the tablet to Ice Cream Sandwich was even made possible because of the existence of custom ROMs created by brilliant third-party developers.
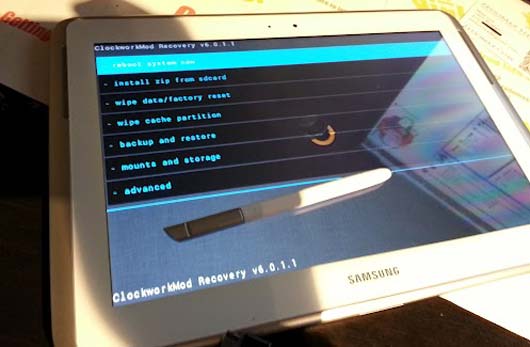
Upgrading your tablet to faster operating systems is one thing you can do either officially or through custom ROMs. And, when we talk about custom ROMs, we can’t just proceed on flashing them without a custom recovery installed in our device. And, yes, when we talk about custom recovery, one is always at the top of our minds — ClockworkMod Recovery.
The easy-to-use and easy-to-flash custom recovery can be installed to your Samsung Galaxy Tab via Technomancer’s kernel. Do take note that your tablet should and must be running on stock Android 2.3 Gingerbread before you can go on with the process.
This guide shows you how to flash ClockworkMod Recovery for the Galaxy Tab P1000.

Warning -
- The instructions in this guide are intended for use with the Samsung Galaxy Tab, model number GT-P1000. Applying these instructions on another device or model may produce undesired outcomes.
- The information in this guide is provided for instructional and educational purposes only. There is no guarantee that these instructions will work under your specific and unique circumstances.
- Use these instructions at your own risk. We shall not hold any responsibility or liability for whatever happens to you or your device arising from your use of the info in this guide.
- Read and understand the whole guide first before actually performing the instructions.
Requirements
- Samsung Galaxy Tab GT-P1000 running on stock Android 2.3 Gingerbread
- A Windows PC
- Your tablet’s USB cable
- 7-Zip, WinRAR or any other program that can extract TAR archive files
- Download the following to your computer:
- Technomancer’s Kernel with ClockworkMod Recovery 5 (cwm-5-p1.tar, 5 MB, md5sum: e67e61a27741069e43bf9f790bf35b10)
- Heimdall Suite 1.3.2(heimdall-suite-1.3.2-win32-.zip, 9.6 MB)
- Heimdall Suite requires Microsoft C++ Redistributable installed on your computer it to run.
- Make sure your tablet’s battery is charged up to 75% or more to avoid interruptions during the process.
- Backup all personal data on your tablet to make sure you have a copy of your personal data (e.g., contacts, SMS, MMS, Internet settings, Wi-Fi passwords, and the like) in case the procedure in this guide erases such data.
Instructions
- Extract the contents of Heimdall Suite 1.3.2 to obtain a folder named Heimdall Suite. Drivers and the Heimdall Suite application are found inside the folder.
- Connect the other end of the USB cable to the computer. Do not connect the tablet just yet.
- Switch off your tablet.
- Reboot the tablet into Download Mode. To do this, press and hold the Power and Volume Down buttons as you connect the other end of the USB cable to your tablet.
- On your PC, double-click the zadig.exe file found in the Heimdall Suite folder. This tool allows you to easily install the USB drivers needed for Heimdall to be able to communicate with your tablet.
- Select Options and choose List All Devices from the menu. You will see a drop-down list.
- From the drop-down list, select either Samsung USB Composite Device or Gadget Serialand choose Install Driver. After this, Heimdall can now be safely used on your computer.
- NOTE: A prompt may appear saying that the installer is unable to verify the publisher of the driver. If this happens, select “Install this driver anyway.”
- After installation of the drivers, unplug your tablet from the USB cable.
- Turn your tablet off.
- Reboot the tablet into Download Mode again (as in step 4).
- Untar Technomancer’s Kernel. You will be getting a file named zImage. Copy the zImagefile into the Heimdall Suite folder. The file should be inside the same folder asheimdall.exe.
- On your PC, open a command prompt. Change directory to where heimdall.exe is located.
- Enter the following at the command prompt:
- heimdall flash --kernel zImage
- The command above instructs Heimdall to flash the kernel to your tablet. You will see a blue progress indicator displayed on your tablet’s screen.
- After flashing of the kernel is done, your tablet will boot automatically.
 RSS Feed